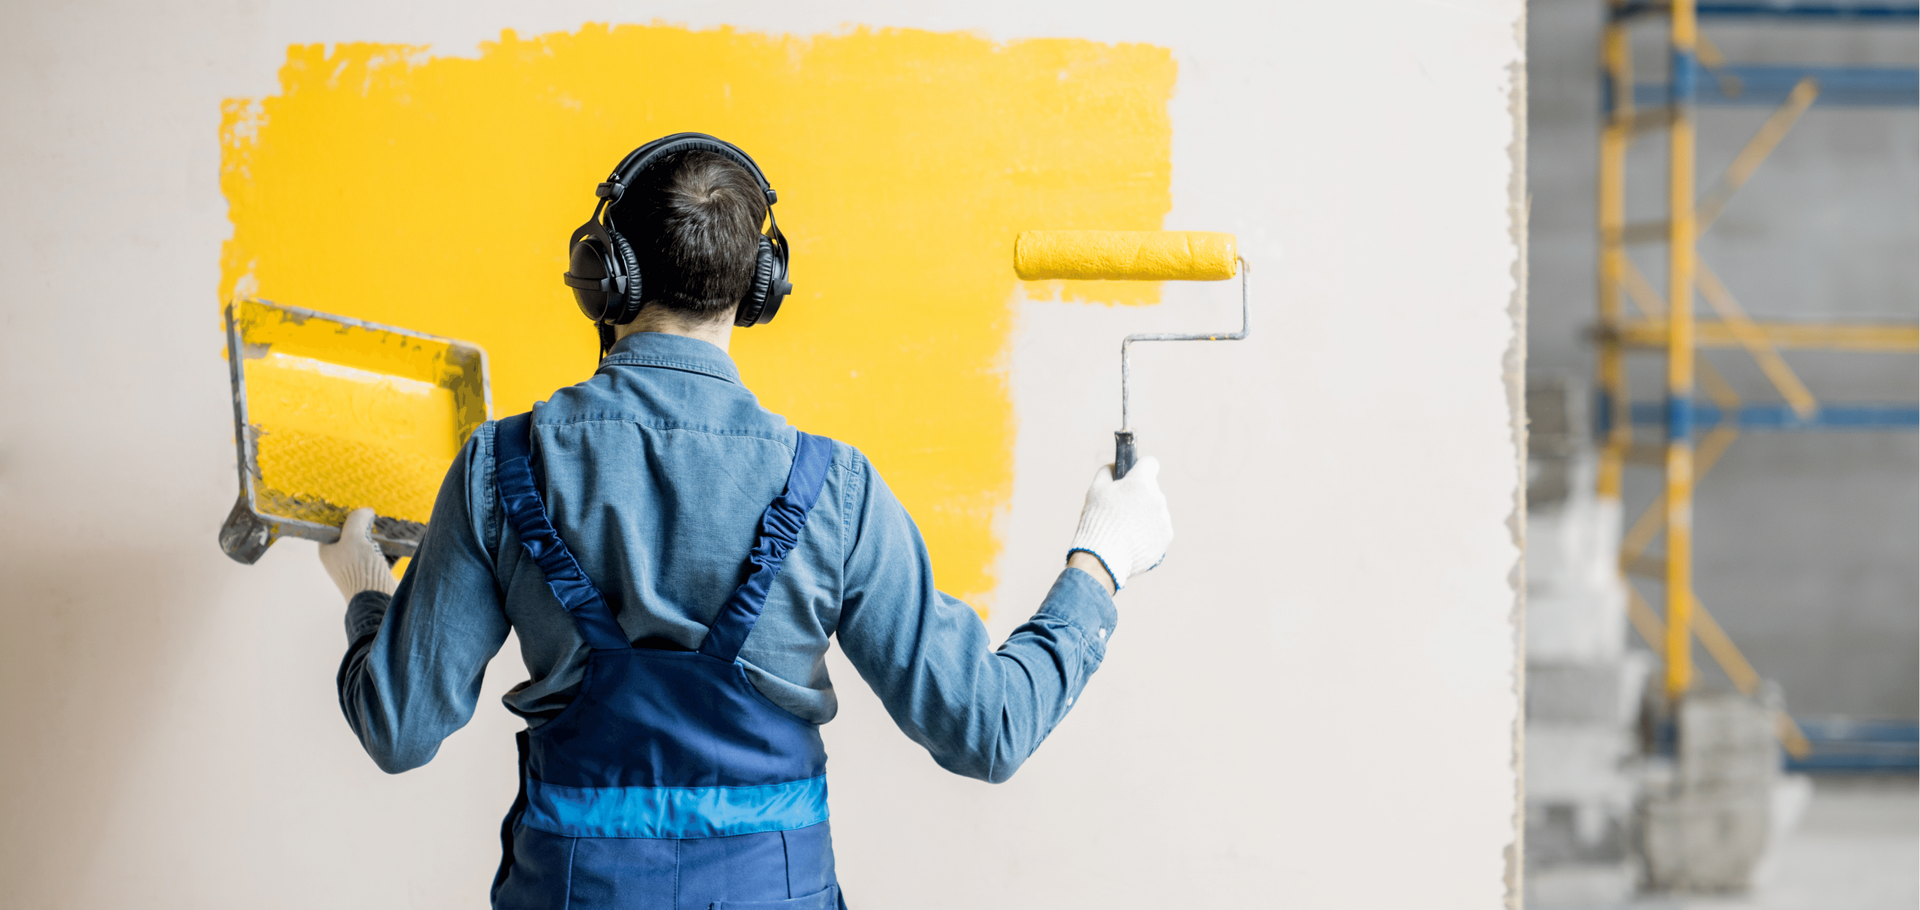
How to Fix Bubbling Paint in the Bathroom | Bathroom Paint Repair Tips
If you’ve noticed bubbling or blistering paint in your bathroom, you're not alone. This is a common issue caused by the unique combination of moisture, humidity, and improper preparation. The good news? You can fix it—and even prevent it from happening again. In this post, we’ll explain why bathroom paint bubbles and guide you through how to fix bubbling paint in the bathroom step by step.
What Causes Paint to Bubble in the Bathroom?
Before diving into the repair process, it’s important to understand what causes the problem. Bubbling paint occurs when air, moisture, or contaminants get trapped underneath the paint layer. The main reasons for bubbling paint in bathrooms include:
- Excess Moisture and Humidity: Bathrooms are constantly exposed to water and steam, especially after hot showers.
- Poor Ventilation: Without proper airflow, moisture lingers, leading to paint problems.
- Inadequate Surface Preparation: If the surface wasn't properly cleaned, dried, or primed before painting, paint may not adhere well.
- Wrong Type of Paint: Using standard interior paint instead of moisture-resistant paint can lead to bubbling or peeling.
- Water Leaks: Hidden leaks behind walls or ceilings can cause the surface to retain moisture, eventually leading to bubbling.
Step-by-Step Guide: How to Fix Bubbling Paint in the Bathroom
Fixing bubbling paint may seem intimidating, but with the right approach, it’s manageable. Here’s how to tackle it:
1. Identify the Cause
Start by figuring out what’s causing the bubbling. Check for:
- Poor ventilation or broken exhaust fans
- Plumbing leaks
- Use of non-moisture-resistant paint
Addressing the root cause first is essential before fixing the paint.
2. Gather Your Tools
You’ll need the following:
- Paint scraper or putty knife
- Sandpaper (medium and fine-grit)
- Primer (preferably mold/mildew-resistant)
- Bathroom-grade paint (semi-gloss or satin finish)
- Drop cloth and painter’s tape
- Paintbrushes or rollers
- Sponge and mild detergent
3. Remove the Bubbling Paint
Scrape off the bubbled paint using a putty knife. Be gentle but thorough. Remove all loose paint in the surrounding area to create a smooth surface for repainting.
4. Sand the Surface
Once scraped, sand the area using medium-grit sandpaper to smooth out rough edges. Finish with fine-grit sandpaper to create an even surface for priming.
5. Clean the Wall
Use a sponge with mild detergent and water to clean the wall. Remove any soap scum, mildew, or dust. Allow the area to fully dry before moving on.
6. Apply a Moisture-Resistant Primer
Apply a mold-resistant primer to the affected area. This step is crucial for sealing the surface and ensuring better paint adhesion. Allow it to dry as per manufacturer instructions.
7. Repaint the Area
Use a high-quality paint that’s specifically designed for bathrooms. Semi-gloss or satin finishes are ideal because they resist moisture better than flat paints. Apply 1–2 coats as needed.
8. Improve Ventilation
To prevent the problem from coming back:
- Install or upgrade an exhaust fan
- Keep the bathroom door open after showers
- Use a dehumidifier if needed
Tips to Prevent Bubbling Paint in the Future
- Always use bathroom-grade or moisture-resistant paint
- Ensure the surface is completely dry and clean before painting
- Apply a high-quality mold-resistant primer
- Allow each coat of paint to fully dry before applying the next
- Fix leaks immediately to prevent long-term water damage
- Keep the room well-ventilated at all times
When Should You Call a Professional?
If bubbling paint continues to reappear or if it's widespread, it might be a sign of a more serious underlying issue such as water damage or mold behind the walls. In that case, calling a professional painter or contractor is the best solution.
Conclusion
Bubbling paint in the bathroom is a frustrating but fixable issue. With the right tools and techniques, you can restore your bathroom walls and prevent future paint problems. Always prioritize surface preparation, use the correct type of paint, and make sure your bathroom is properly ventilated.


